If you’re an avid photographer like I am, then I am sure you have done some research on how to take better pictures while on the road. In this guest post, my friend Laurence from Finding the Universe gives us his 10 easy tips for taking better photos on your travels! After you learn to take better photos, you can even have a travelling photobook made of your favorite shots!
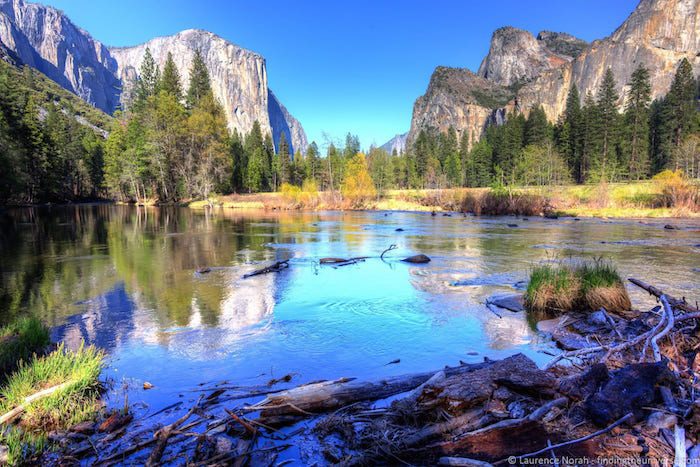
Taking a great photo might seem like an impossible art, but the truth is that you can employ a few tricks to help you get better shots. These tricks are known as the rules of composition, and they take advantage of visual patterns that please the brain to create images that we like to look at. Examples include using symmetry, such as a reflection, leading lines, such as roads, to draw the viewer into the image, and the famous “rule of thirds”, where you split the image up into thirds and compose around that. Here’s a post I wrote all about getting your composition right to get you started!
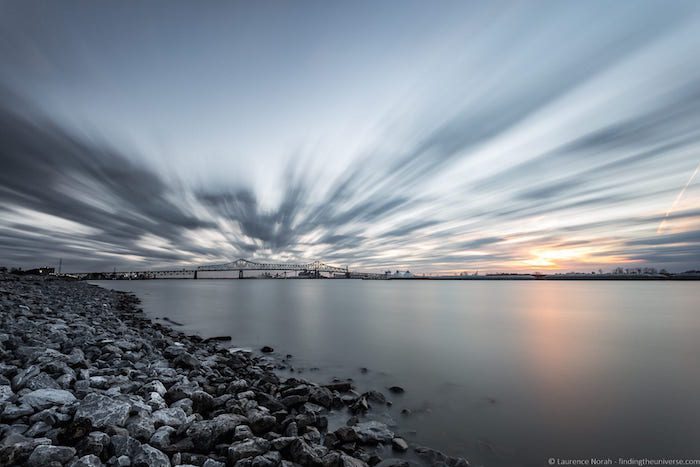
One of the easiest ways to miss a great shot is to not have mastery of your camera. This means you’re going to be fumbling with the buttons, or have it in the wrong mode, just at the moment when you actually want to be pressing the shutter button. Instead of doing that, take a bit of time to figure out how your camera works, and which modes are most suited to different situations, so you’ll always be ready when the moment arrives!
The two best times of day to shoot are at sunset and sunrise – the so called “golden hours” of the day. At this time the light is a warm, yellow color, which is more flattering to subjects. The middle of the day is usually the worst time to shoot – that overhead sun produces harsh contrast and difficult shadow areas, making images seem flat and washed out. Don’t forget to hang around after the sunset as well – as you creep from the golden hour to the “blue” hour, the changing light can make for some wonderful shots.
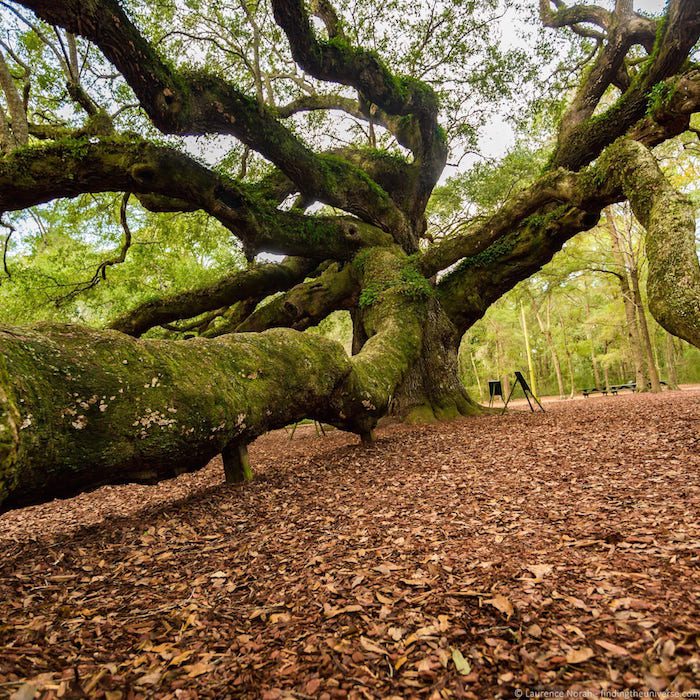
This is the easiest tip to follow, and yet the one that many people seem to fall over at. Your photos will look better if you get simple things right like having a level horizon, ensuring your camera is held properly so images aren’t blurry, ensuring your subject has their eyes open and is well lit – that sort of thing. One really easy tip is to try and shoot with the sun behind the camera – this will help ensure a better lit subject.
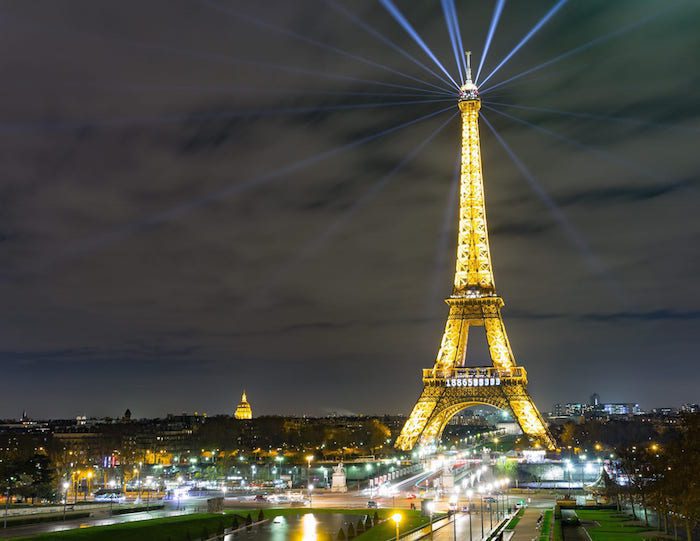
Another area where people tend to fall down with photography is telling a story. When we’re taking a photo, we have all the background knowledge of the shot and what it’s about in our mind, and we can fill that in when we look at the photo. For anyone else looking at the image, that background is missing – so it’s important that we provide visual clues in the image to truly get the story across.
I recommend that everyone spends a little bit of time editing their photos. Even a simple edit on a free phone app can make a huge difference to your images, adjusting things like saturation, contrast and brightness can make an image pop. If you’re really serious, then there are a number of desktop tools that will really help you bring out the beauty in your images.
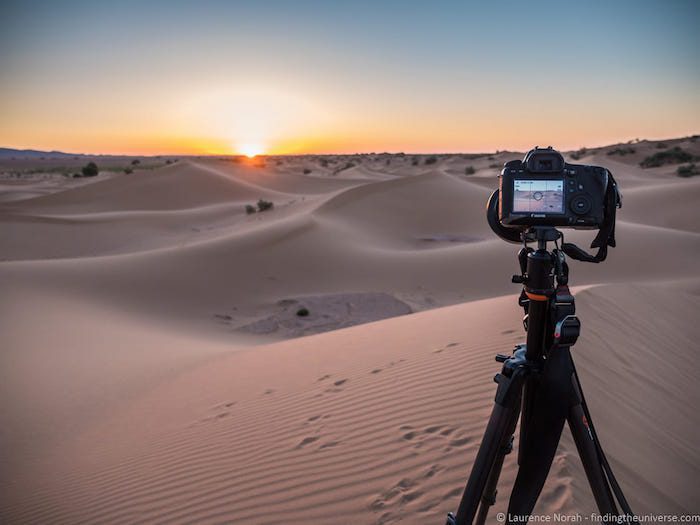
Probably the number one question I’m asked is what camera I use. In fact, I’m asked about it so often, I created a whole post on the subject of my travel photography gear. The reality though, is that gear isn’t the be-all that many people seem to think it is. The majority of beginners are held back by technique rather than gear – it takes a while before gear becomes the restricting factor in most cases. My advice is to invest in the photography gear that works well for you, and then take it everywhere you go. If you don’t see yourself being up for lugging around a big heavy camera, then invest in a decent smartphone or mirrorless system that you will be happy to take with you.
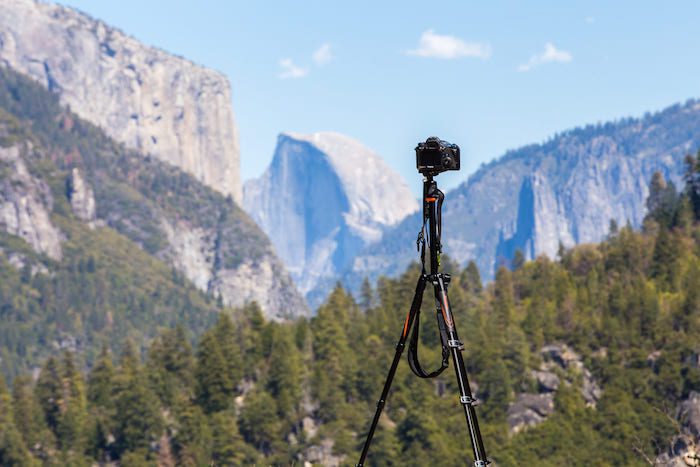
Speaking of gear, an easy way to get better shots is to invest in a tripod. This is one piece of gear that I recommend to everyone – it can help you get better photos straight away, as well as opening up new types of photography, including long exposure photography and astrophotography. You can also get much better selfies with a tripod! If you still need convincing, here are 11 Reasons Why You Need A Tripod that should sway you! Look to invest around $80 – $120 as a minimum – you’ll only come to regret buying a cheap tripod.
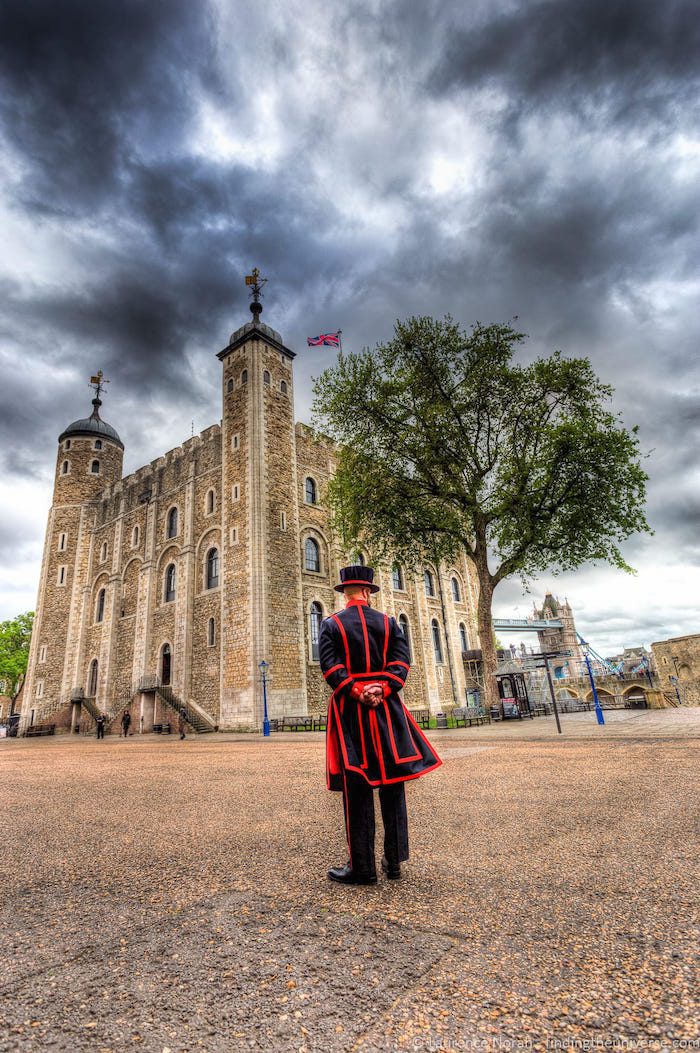
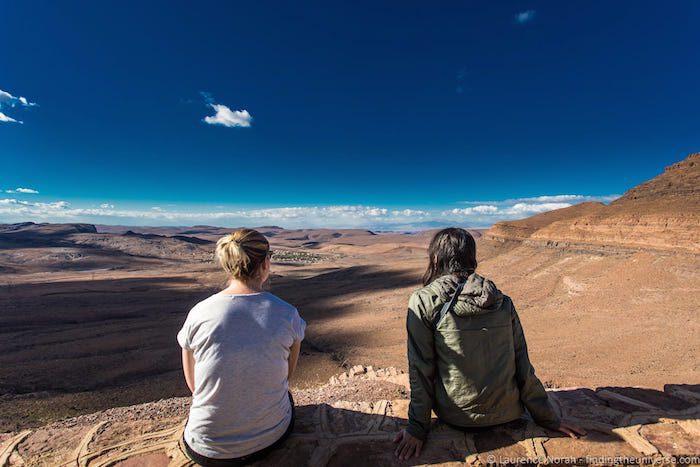
Your photos have to have a clear subject to make them visually appealing. That could be anything from a person to a mountain, but whatever it is, make sure that it’s immediately clear in your composition what that subject is. If you want, you can throw your viewer into the image by using a person as a “prop”. If you have someone facing away from the camera and regarding a scene, the viewer will imagine themselves as that person, and instantly be transported there.
Sharing everything I know about photography in one post is tough. Like anything worth doing, learning how to take better photos is a skill that takes time, effort and a bit of an investment. It always boggles me how much people are willing to spend on equipment, yet then don’t take the time to learn how to use it properly. So my advice here is to invest some time and money into actually learning how to take great photos. To help you out, I’ve put together an incredibly detailed online photography course, which covers in great depth everything I’ve mentioned above, plus lots more, including access to a Facebook group, one-on-one mentoring from myself… everything you need to up your game. You can read more about that, right here.

Laurence is a full time professional travel photographer & blogger, who has been travelling the world since 2009, and taking as many pictures of beautiful places as possible. He runs two travel blogs: the photography and adventure focused Finding the Universe, and the couples travel focused Independent Travel Cats with his wife Jessica. He’s also the author of the Superstar Blogging Online Photography Course, which will help you improve your photography, no matter your level or experience.
Counter
101 Countries • 1432 Cities